How to take pictures of your artwork to enter an Art Competition
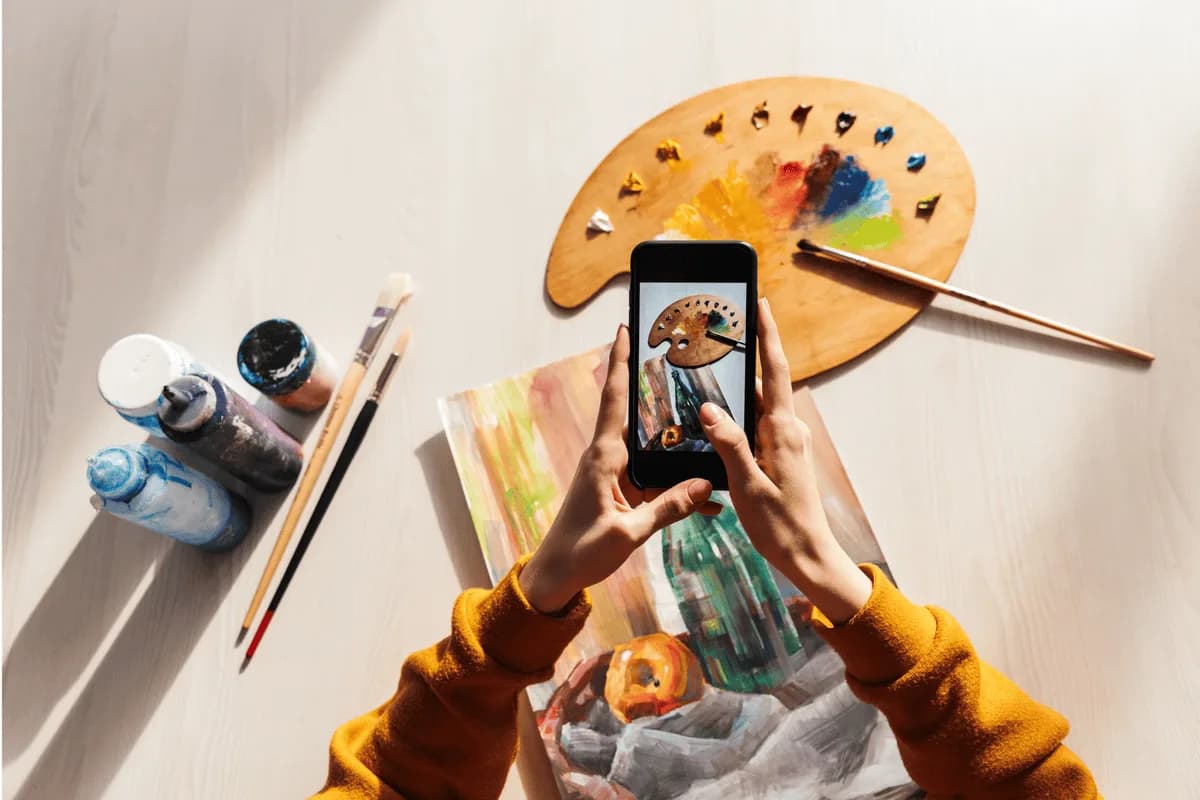
Entering an art competition can be a fantastic way to showcase your talent, and high-quality photos of your artwork are essential to make the best impression. Whether you’re submitting to the prestigious Chelsea International Fine Art Competition or another opportunity, capturing clear, accurate images of your work can help ensure your entry stands out.
Here’s a guide to help you take professional-looking photos of your artwork, even if you’re doing it on your own.
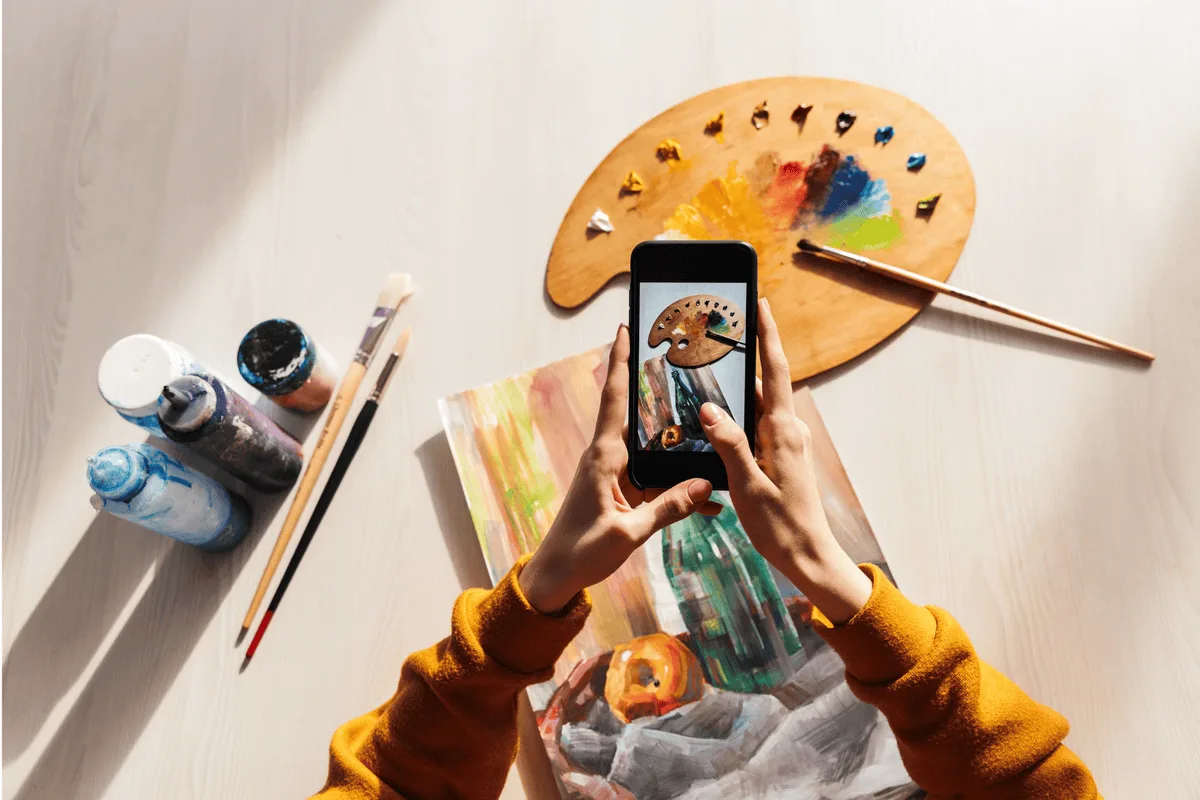
Essential Equipment: Start with the Basics
While a DSLR or mirrorless camera offers the best control over settings like focus, ISO, and white balance, a smartphone camera can also do the job well. Regardless of your device, keep these tools on hand for an easier setup:
• Tripod: Keeps your camera steady and ensures sharp, consistent images, especially useful if you’re photographing several pieces.
• Lighting: Proper lighting minimizes shadows and shows colors accurately.
• Backdrop: A plain, neutral-colored background, such as a white or gray wall, helps keep attention on your artwork.
Budget-Friendly Tips
If a new camera isn’t an option, consider buying secondhand or borrowing from friends or community centers. Many artists get great results using smartphones, as long as they follow these techniques and ensure good lighting.
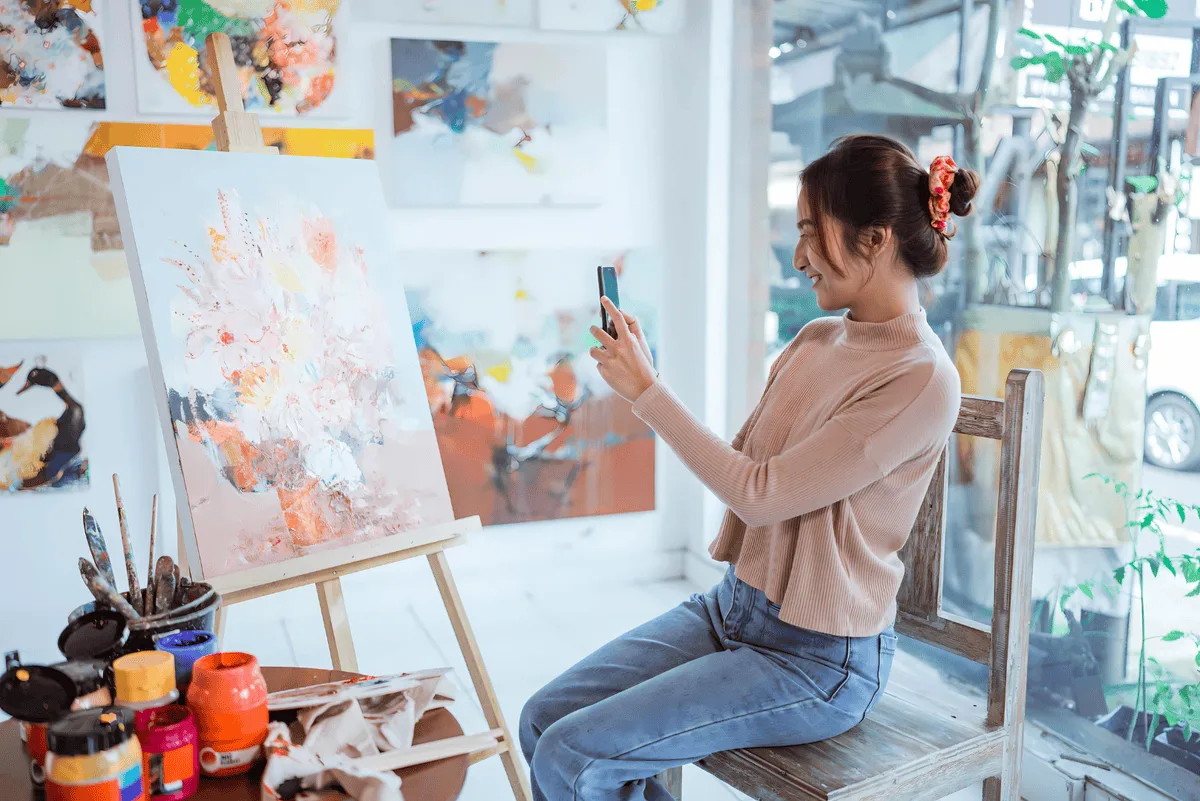
Setting Up for Success: Positioning and Lighting
Position Your Camera Correctly
For two-dimensional work, hang the piece on a wall or place it on an easel for stability. Keep the background uncluttered and the camera parallel to the artwork to avoid distortions. For three-dimensional work, create a bit of space between the piece and the background so you can capture different angles and show depth.
Lighting Matters
Lighting is key to achieving a true-to-life representation. Aim for soft, indirect light rather than direct sunlight or flash, which can create harsh shadows or reflections. If possible, position lights on either side of your artwork and diffuse them by bouncing light off white walls or reflectors. Overcast daylight can also work well for an even light source if photographing outdoors.
Taking the Photos: Getting the Best Shot
Take a few test shots first to check the lighting, angles, and color accuracy. Adjust as needed to reduce glare, especially if your artwork has reflective surfaces or is framed under glass. It’s helpful to take multiple photos of each piece—you can always choose the best later.
Editing for Professional Results
Editing can elevate your photos and bring them closer to the actual artwork. Use editing software like Adobe Photoshop or free alternatives like PhotoPea or Snapseed to:
• Correct colors and lighting to match the artwork.
• Straighten and crop the image for a clean, focused composition.
• Adjust contrast and sharpness for clarity without over-editing.
Make sure to save a copy of your original images before editing, so you can always return to the unedited versions if needed.
Organize and Save Your Files
Proper organization helps you easily locate your images when it’s time to submit. Label each file with the title of the artwork, dimensions, and medium. Store your images in a designated folder and make a backup to ensure they’re secure.
Now you’re ready to use these images to enter competitions like the Chelsea International Fine Art Competition and showcase your work to a larger audience. High-quality photos of your artwork make a powerful impact and increase the chances of your work getting notice!
Have feedback on this post?
Send us a note — we read every message.